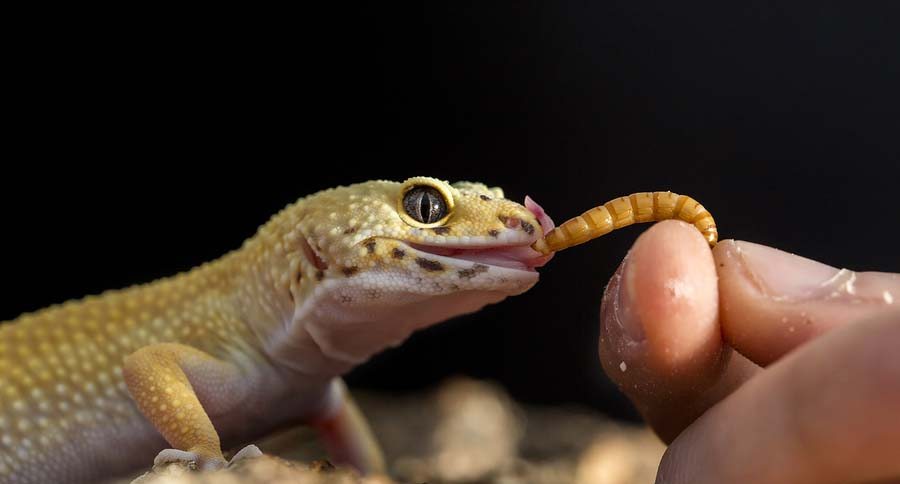
Mealworms, the larval stage of darkling beetles, are a tasty and nutritious meal for many reptiles, amphibians, birds, and fish. Geckos, bearded dragons, turtles, lizards, frogs, some snakes, chickens, ducks, song birds, and carnivorous fish all rely on mealworms for nutrients. But purchasing mealworms from a store has its setbacks.
For one thing, it can be costly. Mealworm prices at a pet store can cause a hole in your wallet. Additionally, store-bought worms are not necessarily kept in the best conditions, so live mealworms may be lacking in nutrition or even close to dying when you buy them. You can solve this by setting up your own mealworm farm! It's quick and easy to do and will save you money in the long run. Another perk? Breeding mealworms is essentially odorless, and it's easy to learn how to do!
Follow these steps to set up your own mealworm breeding program:
1. Purchase initial stock.
Order some mealworms or beetles to get started. The life stages are labeled in order of development as egg, larva, pupa, beetle. The beetles are mature adults and will breed until they die. The timeline for developing mealworms is typically as follows:
- Eggs hatch in 1-4 weeks.
- Larval stage lasts 10 weeks.
- Pupal stage lasts 1-3 weeks.
- Beetles live for 4-16 weeks.
2. Find the right container.
Plastic bin drawers are ideal for breeding, especially in large amounts. Glass aquariums also work well. You only need to have a tub with sides a few inches high so that the worms cannot crawl out, but make sure there is enough airflow.
Drilling some holes in the front of the bins increases air flow if you have the animals in a drawer set-up. A mesh screen will also prevent unwanted insects from invading if your containers are going to be left in the open.
https://www.instagram.com/p/B7v4osFpOeA/
3. Choose the substrate.
The substrate is the main food source for the mealworms. You can purchase mealworm bedding online or at a store. While this is the most nutritious route, there are also some homemade concoctions you can whip up as substrate.
Crushed or ground oatmeal, corn meal, bran, wheat flour, dog food, or even cereals like Wheaties and Cheerios can be used as substrate alone or mixed together for a more nutritious spread. Layer the substrate about two to three inches thick.
Be sure to add more as the thickness decreases; mealworms will surprise you with how much they eat! Substrate does not have to be replaced very often, but when it starts to have an ammonia smell or just looks dirty, strain out the mealworms and replace the bedding. Give the container a quick scrub, too.
https://www.instagram.com/p/B9j3Ix-FSly/
4. Add a water source.
Sliced vegetables and fruits are an easy way for your mealworms to obtain water. Place pieces of apple, potato, carrot, lettuce. or other fresh watery goods on the top of the substrate. Replace when they start to dry out or look moldy.
Potatoes are ideal as they take longer to dry out and mold less quickly.
5. Adjust temperature and humidity.
Ideal temperature is about 75 degrees Fahrenheit, so you'll want to avoid placing the bins in direct sunlight. Heaters are necessary only in colder climates.
Mealworms produce more rapidly in higher humidity, but most indoor climates suffice. However, drier climate breeders can add a glass of water inside the bin to increase humidity, making sure the water container is tall enough to prevent the mealworms from drowning. The worms function on a normal night/day light cycle, so no artificial lighting is needed.
6. Separate different life stages.
Discard dead organisms. Remove beetles, placing them in a separate, screened bin where they can begin another colony. If you have too many beetles to handle, you can set some free outside.
Store pupae in the fridge to slow down growth rate and prevent them from feasting on the larvae. Pupae can be fed out same as the larvae.
https://www.instagram.com/p/B50j_cChqlZ/
7. Store excess mealworms.
If your colony is producing faster than you can feed them out, stick the larvae (and pupae) in the fridge to slow down their growth rate. Mealworms develop quicker in warmer temperatures.
Any refrigerated mealworm should be taken out of the fridge and allotted sources of food and water (substrate and fruits/vegetables) for two to three days before returning to the fridge.
It is a good idea to mark multiple bins with dates the colonies were started. This helps you stay organized and keep track of your progress, as well as monitor if the development process is following the typical growth schedule.
If you adhere to the guidelines above, you will be well on your way to becoming a mealworm farmer. Soon, people will be coming to you to buy mealworms! Raising mealworms could turn into a lucrative business if you play your worms right.